Laser engraving with Eding CNC and Lightburn
In this blog, we will demonstrate how you can use Lightburn in cooperation with Eding CNC controllers. It’s not a course on Lightburn, however, it should help you if you want to start out with an EdingCNC controller and Ligthburn.
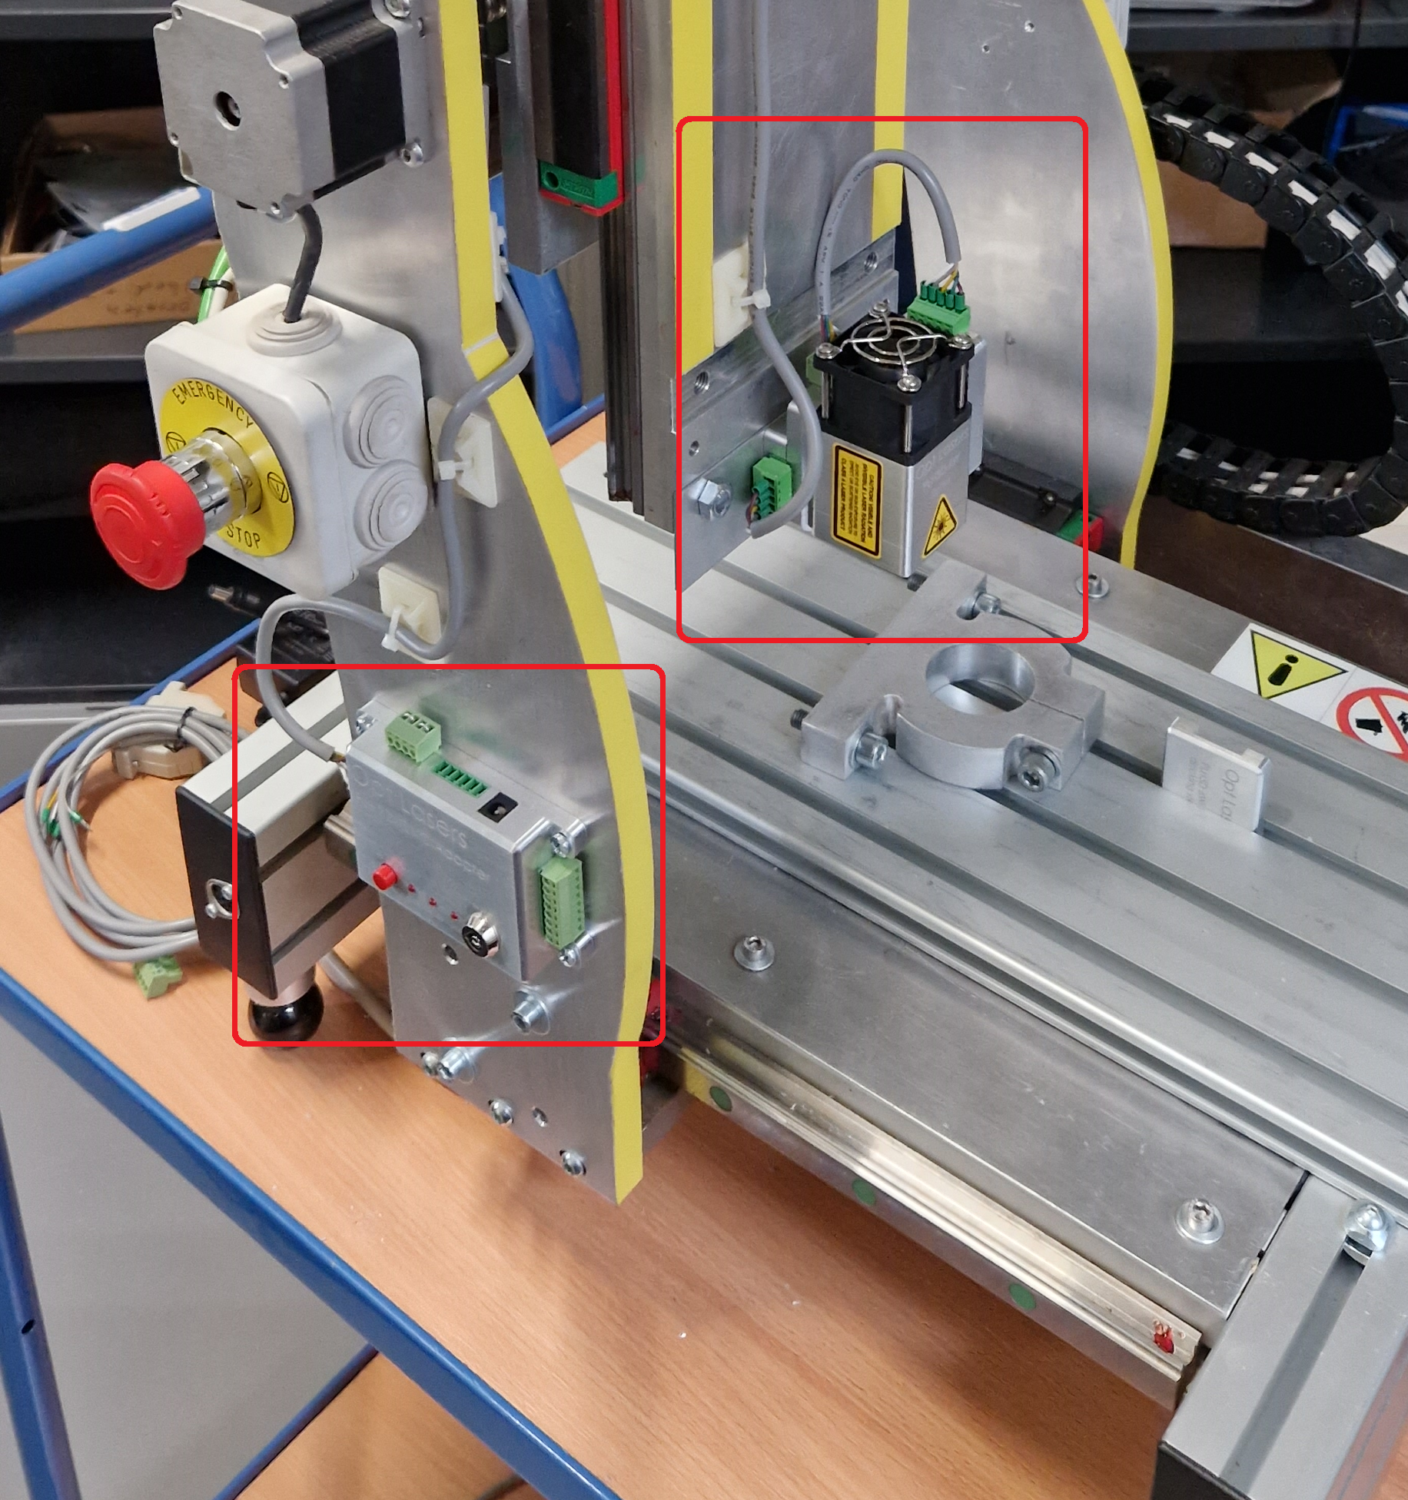
As hardware setup, we have re-purposed one of our a small CNC test machine as a laser engraver. We have added a 6W laser from OptLaser. By the way, the option to be able to simply take off the laser if you don need it is awesome.
For making a CNC engraver we suggest the CNC720 or CNC760, these are able to control the power of the laser during motion. So these newer versions of EdingCNC controllers are perfectly suited for laser jobs cutting and also photoengraving.
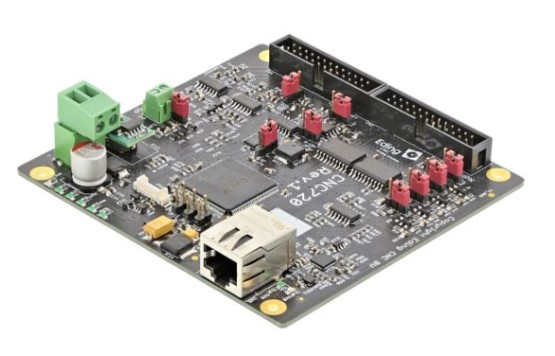
CNC720
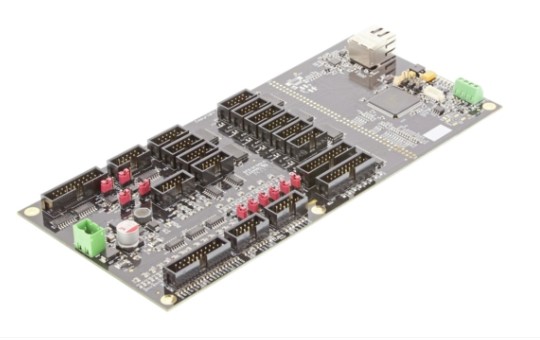
CNC760
Note: if you use either controller, check you have firmware 1.03 or higher.
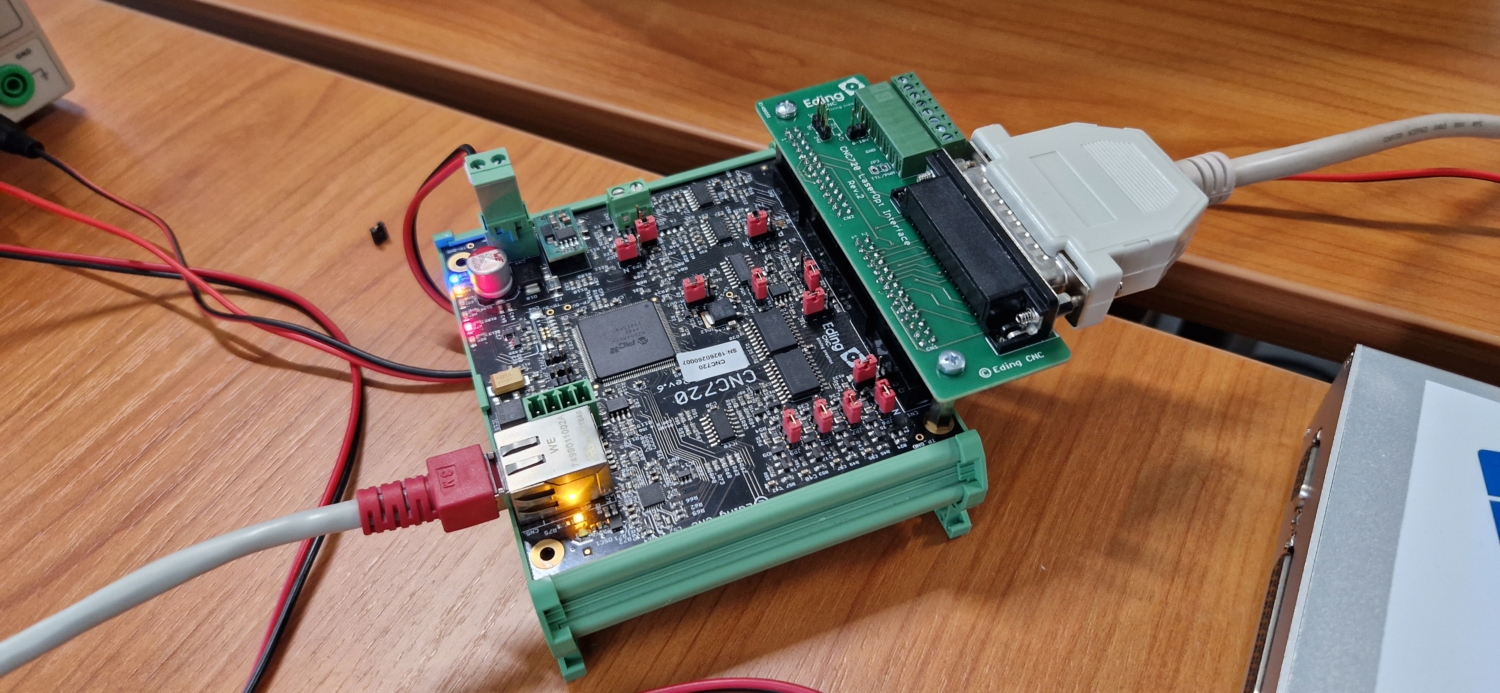
For our dedicated setup, we made a small adapter board, it’s not a requirement for using our board with lasers, but in our case, it saved us a lot of time rewiring the machine.
Below is what it looks like installed on a CNC720:
Here is a nice overview of our test setup:
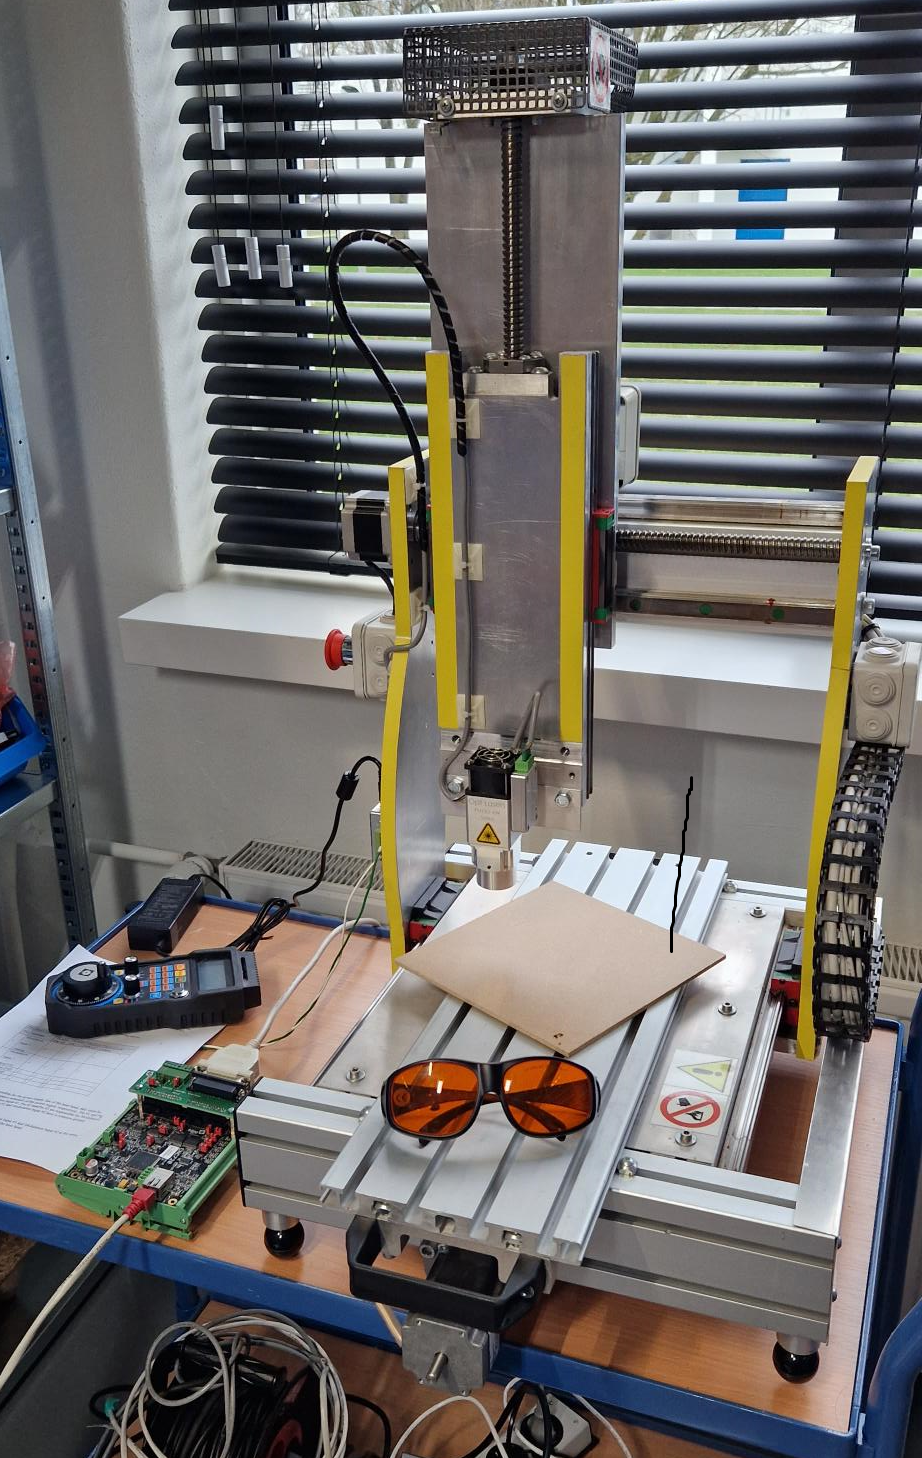
Notice, the laser safety glasses! Don’t forget to use them! So, now we have the hardware done…it’s time to move on to another fun part…settings
New software functions
We have added special functions for laser engraving, the functions are M10 and M11 [S..].
LaserEngrave XY: Enables the laser motion mode.
Use this command in MDI before a job or put it in your start G-Code script in Lightburn. This command changes the working mode of your controller board, restricting it to XYZ axes.
M10: Laser off (PWM off)
M11: Laser on with power S…where S is 0..00%.
With these commands, the PWM1 output is controlled. Most lasers use the PWM and can be connected.
It is possible to do a lot of small line moves (G1s) with these laser commands in between. The motion will continue while doing this with constant speed. So this is ideal for photo laser engraving.
As CAM software we will use Lightburn, it’s the de facto standard for lasering. See https://lightburnsoftware.com/. You will need the G-code version which is the cheapest one, about €60; which is not a bad deal considering what it can do.
Since Lightburn does not support EdingCNC out-of-the-box yet, we have to add some things, but first the setup.
Lightburn setup
The first step is to go to ‘Devices’ and set it to ‘Marlin’:
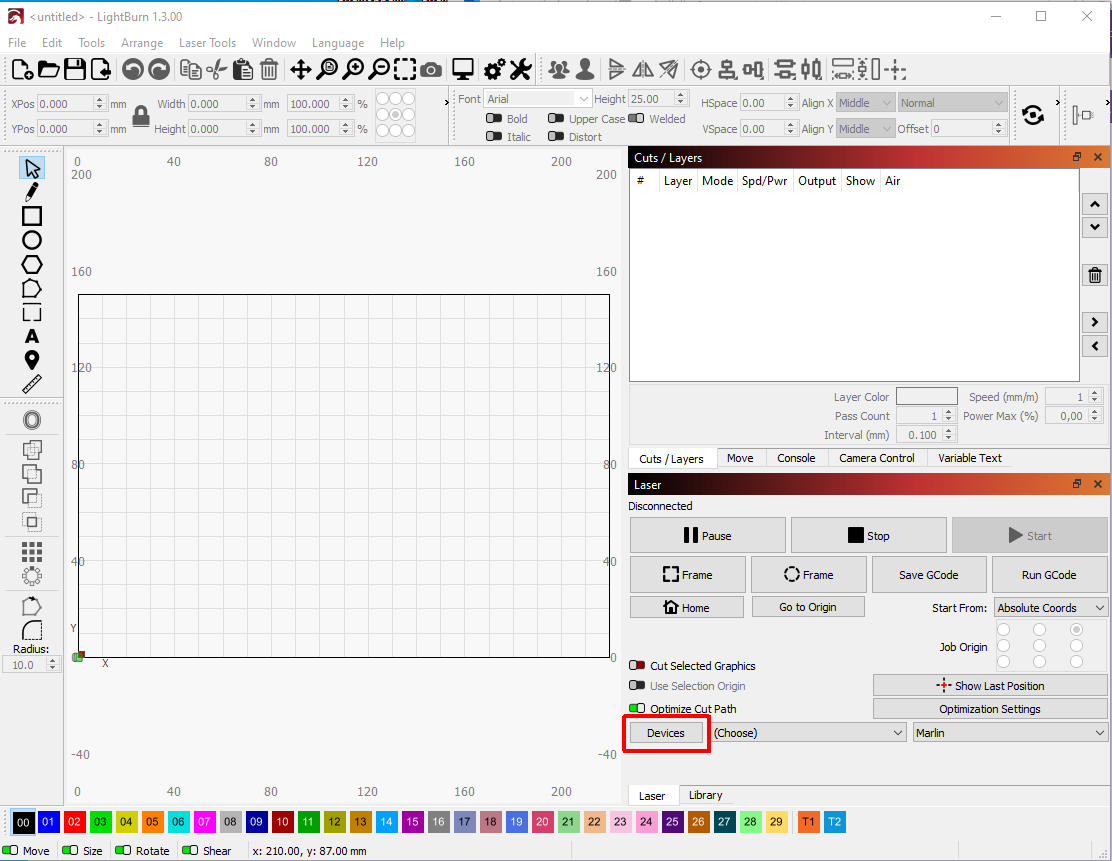
Device settings
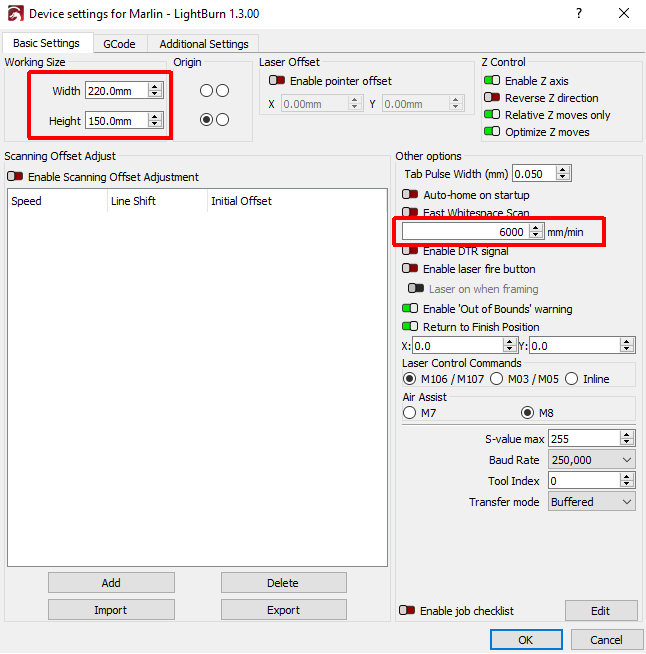
Next, we have to set up the device. Click on the icon indicated below:

It’s time to setup the width of your machine and the G0 speed in mm/min. This will of course depend on the machine you are using.
Also, since Lightburn does not have standard EdingCNC support, we work around this thanks to our capability to override M-codes in your G-code. In this case, we overwrite M-code M106, so please add this to ‘Start GCode’ and ‘End Gcode’:
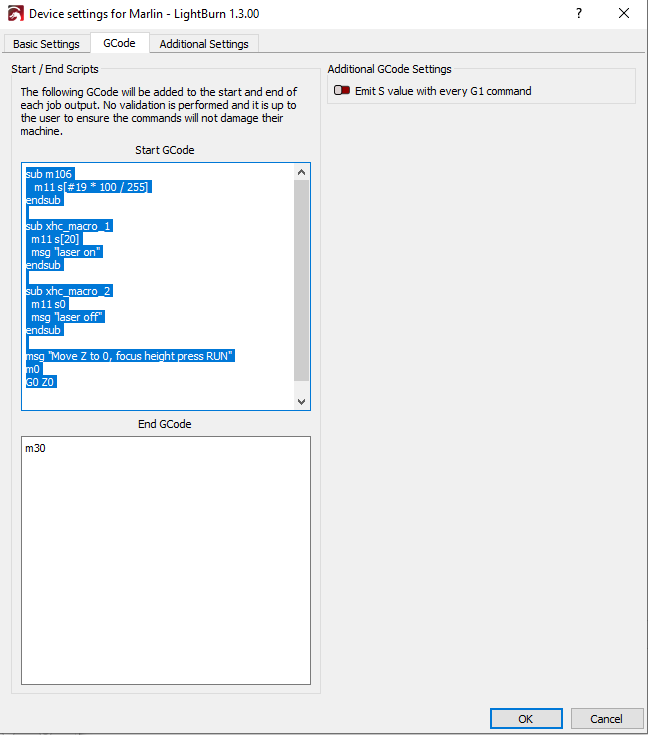
To help you here is the copy-pastable text:
sub M106
   m11 s[#19 * 100 / 255]
endsub

sub xhc_macro_1
   m11 [s20]
   msg "laser on"
endsub

sub xhc_macro_2
   m11 s0
   msg "laser off"
endsub

msg "Move Z to 0, focus height press RUN"
m0
GO Z0
Optionally, you can add “LaserEngrave XY” to this start G-Code if you would like the laser mode to be switched on from G-Code.
And, this End Code:
M30
Optionally, you can add “LaserEngrave OFF” to this end G-Code if you want the laser mode to be off at the end of the job.
We have assumed that the focus height of the laser is at work Z0, so Z is zeroed at this height. So be sure you do that before you press RUN.
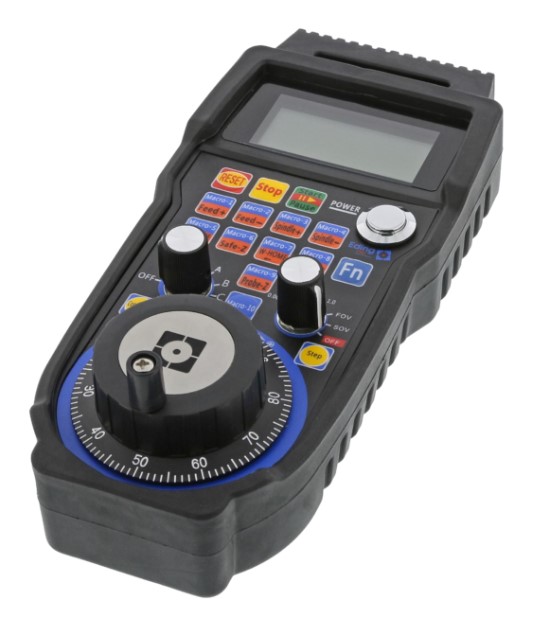
The subroutines may also be added to your macro.cnc or user_macro.cnc, that way you it will always be available on your machine. The XHC macros are optional, they were used with the wireless pendant to switch the laser on and off.
Application settings
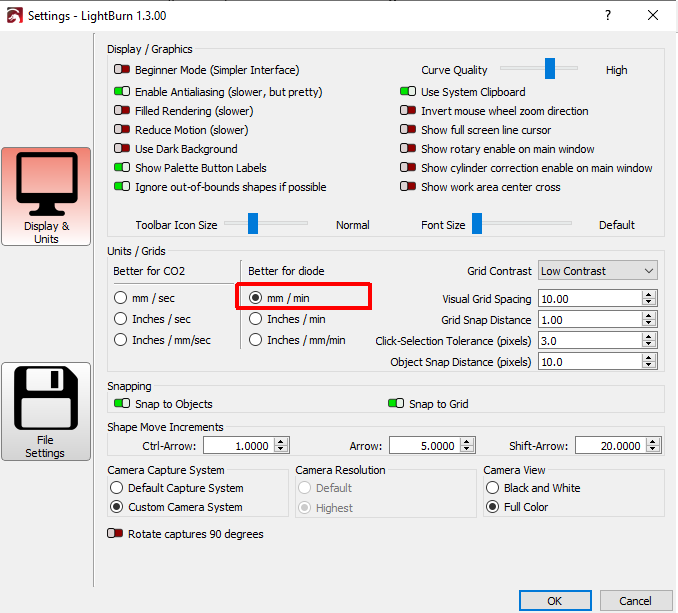
We’re getting close, but first, do one extra setting:
![]()
The image below shows the setting:
First test, rectangles and various speed and laser power:
Finally, the first test. Since each laser/machine/material combo can have different results. Our first start is making some rectangles at different speeds and laser power:
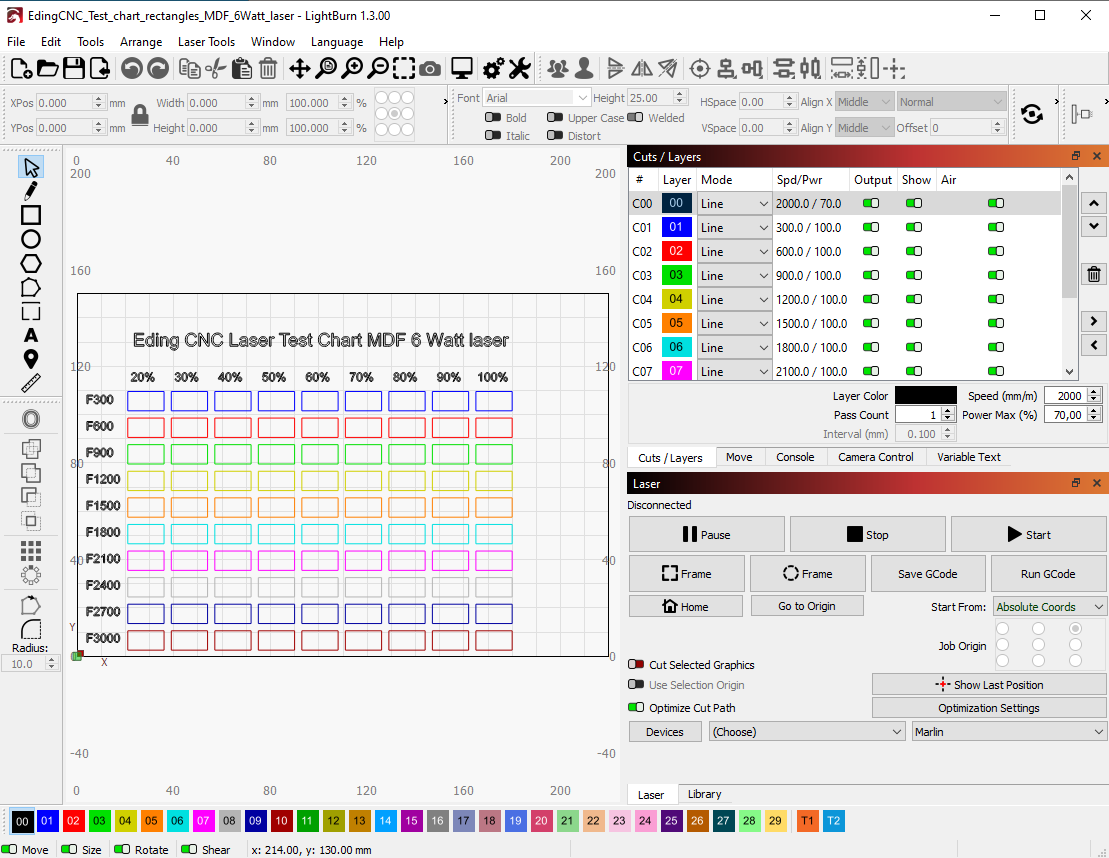
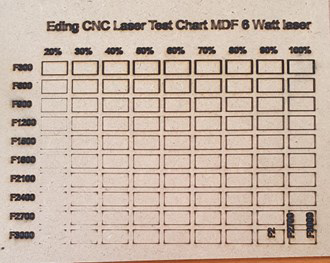
The results from such a test show nicely the best power vs. feed rate settings for your setup. Below you see our results with 6mm MDF.
2nd test, find a good setting for photo engraving:
The next test will be even more interesting, we want to see how well the engraving will be performed for this we have also a test file with engraving at different speeds. Giving us more information about how to use our laser engraver with this material:
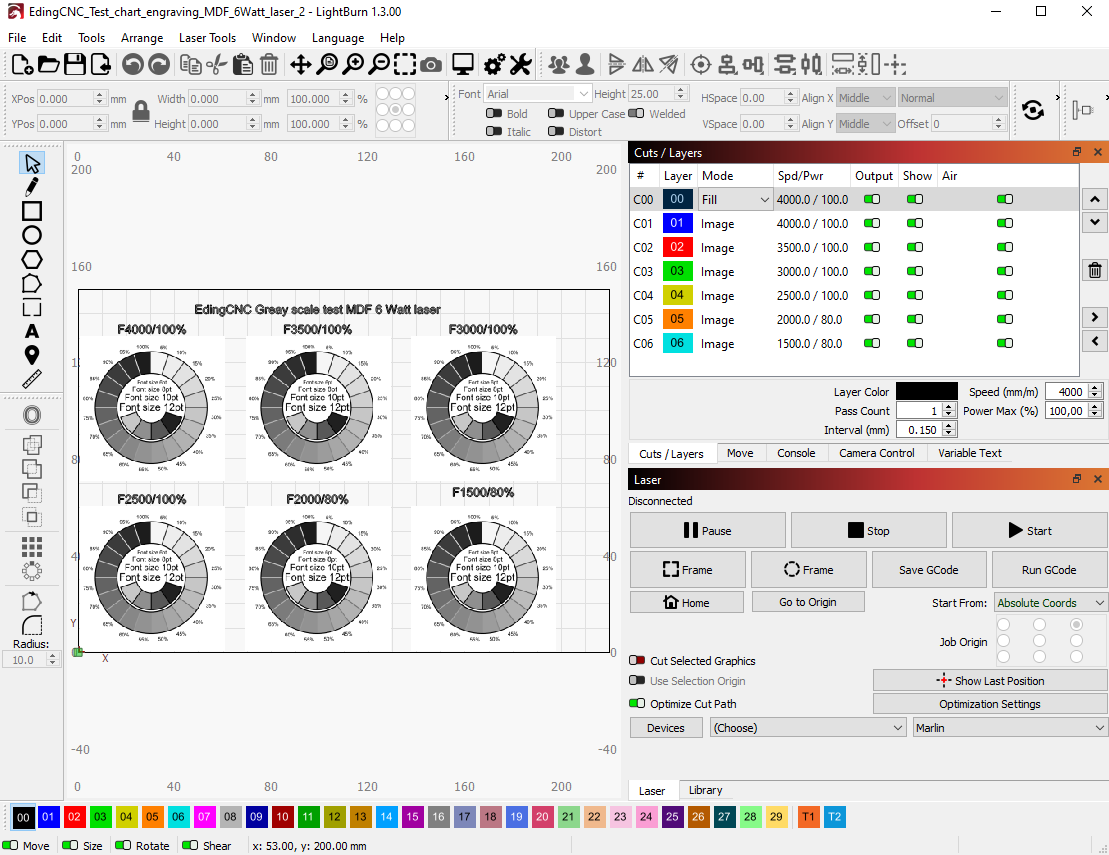
These results give us cleary an indication of what will work or not.
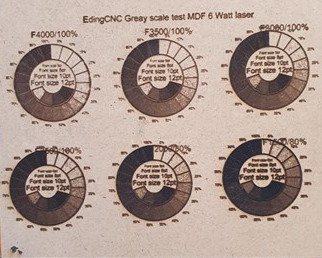
Based on this we will start the next test with a feed rate of 2000 and 80% power.
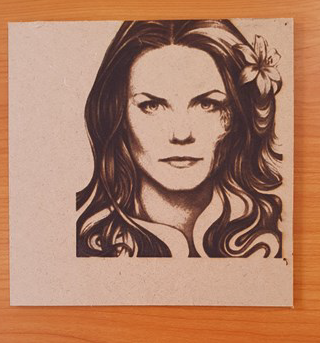
Final test, photo engraving
And now for the ‘piece the resistance’, we will actually engrave a picture. For this we took a picture and combined this with the settings we found for our previous test.
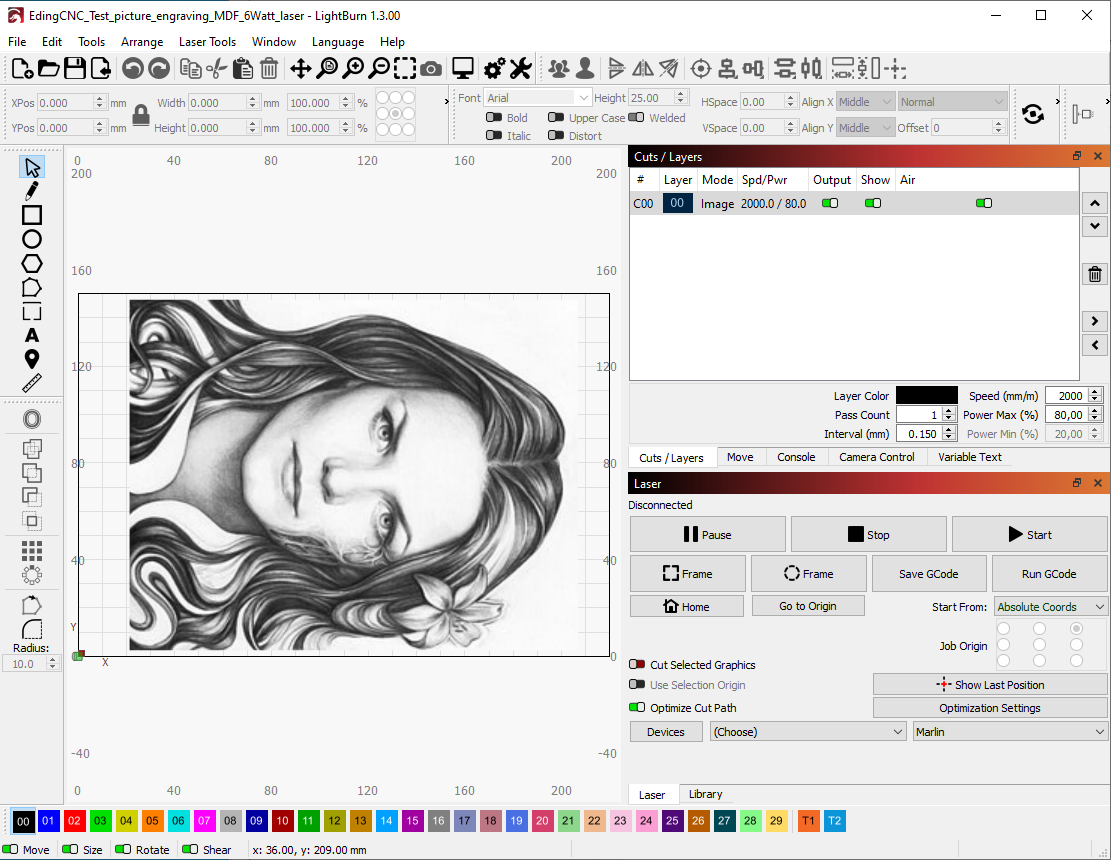
The resulting picture on 6mm MDF is shown below. We’re quite happy with the result of new laser engraver.
Conclusion
Lightburn is awesome software and combined with an Eding CNC controller it’s a powerful combo. After some initial testing, you will be able to understand how to combine your laser, machine, and material for the best results.
To help you get started we have here a LINK to an archive with the Ligthburn files we have used for testing.
We hope you have enjoyed this blog and wish you happy lasering!
Team Eding CNC.
![]()
![]()

